Foolproof Cheesecake Recipe for Beginners: No Water Bath Needed
Cheesecake. The very word conjures images of creamy decadence, rich flavor, and sophisticated elegance. For many aspiring home bakers, however, it also conjures a sense of dread. The dreaded cracks, the delicate water bath, the elusive perfect texture – it all seems a bit too complicated, reserved only for seasoned professionals. But what if we told you that achieving a sublimely smooth, crack-free, and utterly delicious cheesecake is not only possible but surprisingly simple, even for complete beginners? This isn't just an
easy cheesecake recipe; it's a game-changer, designed to eliminate common anxieties and deliver a show-stopping dessert without the need for a single drop of water in your oven.
Forget the days of wrestling with foil-wrapped pans and steaming hot water. This foolproof method focuses on clever ingredient choices and a straightforward baking technique that promises a velvety, rich cheesecake with that perfect tang, all resting on a perfectly crisp graham cracker crust. You'll be amazed at how little effort it takes to create a dessert that looks like it took hours of painstaking work. Prepare to impress your family and friends, all while keeping your secret of simplicity under wraps!
Why This Easy Cheesecake Recipe is a Game-Changer for Beginners
The allure of a homemade cheesecake is undeniable, but the traditional preparation often involves steps that deter new bakers. This recipe, however, strips away the complexity while retaining all the classic charm and flavor. Here’s why it stands out as the ultimate
easy cheesecake recipe:
*
No Water Bath Anxiety: This is arguably the biggest hurdle for many. Water baths are notoriously finicky – prone to leaks, difficult to handle, and sometimes yielding inconsistent results. Our method sidesteps this entirely, relying on precise ingredient temperatures and a gentle baking process to achieve a perfectly cooked, even texture without the fuss.
*
Crack-Free Confidence: Cracks in a cheesecake are often the result of rapid temperature changes or over-baking. This recipe is designed with specific cooling stages that allow your cheesecake to set gracefully, minimizing the risk of those unsightly fissures. You'll achieve that coveted smooth, pristine surface every time.
*
Minimal, Accessible Ingredients: You won't find any exotic or hard-to-find items on this list. We focus on staple ingredients that combine to create maximum flavor, proving that gourmet taste doesn't require a specialty grocery run.
*
Less Active Prep Time: While a baked cheesecake still requires ample chilling time (a step we simply can't skip for the perfect set!), the active preparation and baking steps are streamlined. You'll spend less time in the kitchen and more time anticipating your delicious reward. For those moments when you need an even quicker dessert fix with virtually no baking, consider trying an
Easy No-Bake Cheesecake: 6 Ingredients for Quick Dessert, a fantastic alternative for speed and simplicity.
*
Unbeatable Versatility: A classic vanilla cheesecake provides the perfect blank canvas for an endless array of toppings and flavors. From fresh fruit to decadent sauces, this base is designed to complement anything you can dream up.
Essential Ingredients for Your Foolproof Cheesecake
The magic of this
easy cheesecake recipe starts with understanding the role of each ingredient. Quality and temperature are key!
*
For the Crust:
*
Graham Cracker Crumbs: The classic foundation. You can crush your own graham crackers or buy pre-crushed crumbs.
Pro tip: For a different flavor profile, finely crushed vanilla wafers, digestive biscuits, shortbread, or even chocolate cookies (like Oreos, filling removed) make excellent substitutes.
*
Unsalted Butter (Melted): This is the crucial binder that holds your crust together. Unsalted allows you to control the overall saltiness.
*
For the Filling:
*
Full-Fat Cream Cheese (Room Temperature): This is non-negotiable! Full-fat cream cheese provides the richness and structure necessary for a truly decadent cheesecake. More importantly, ensure it's at *room temperature*. Cold cream cheese will result in a lumpy filling, no matter how long you beat it. Allow it to sit on your counter for at least 1-2 hours (or until soft to the touch) before starting.
*
Granulated Sugar: Sweetens the filling without altering the texture. Unlike some no-bake versions that use powdered sugar for thickening, granulated sugar provides the best balance of sweetness and contributes to the smooth, rich texture of a baked cheesecake.
*
Large Eggs (Room Temperature): Eggs are essential for structure and binding in a baked cheesecake, helping it set firmly. Just like the cream cheese, room temperature eggs emulsify better with the other ingredients, leading to a smoother batter and reducing the risk of cracks.
*
Pure Vanilla Extract: A simple yet vital ingredient that enhances all the other flavors. Use a good quality extract for the best results.
*
Sour Cream (Full-Fat, Room Temperature): This is a secret weapon in no-water-bath cheesecakes! Sour cream adds a lovely tang that balances the richness, contributes to a silkier texture, and helps prevent cracks by adding moisture and fat, allowing the cheesecake to bake more gently. Like other dairy, ensure it's at room temperature for seamless incorporation.
Step-by-Step Guide to Your Perfect Cheesecake
Creating your crack-free masterpiece is easier than you think. Follow these steps carefully, paying attention to the details, and you'll be rewarded with an impeccable dessert.
1.
Prepare Your Pan and Oven:
* Preheat your oven to 325°F (160°C).
* Lightly grease a 9-inch springform pan. For extra security against sticking, trace the bottom of the pan onto parchment paper, cut out the circle, and place it in the bottom before latching the sides. This ensures an easy release.
2.
Craft the Perfect Crust:
* In a medium bowl, combine the graham cracker crumbs and melted butter. Mix until the crumbs are evenly moistened and resemble wet sand.
* Press the mixture firmly and evenly into the bottom of the prepared springform pan. Use the bottom of a glass or your knuckles to compact it tightly. For a slightly sturdier crust, you can press some crumbs about halfway up the sides of the pan.
* Bake the crust for 8-10 minutes, or until lightly golden. This pre-baking step helps create a crispier base and prevents it from becoming soggy. Remove from oven and let cool slightly while you prepare the filling.
3.
Whip Up the Silky Filling:
* In a large mixing bowl (preferably using an electric mixer with a paddle attachment), beat the room temperature cream cheese on medium speed until it's completely smooth and free of any lumps – this is crucial for a smooth finished product. Scrape down the sides of the bowl often.
* Gradually add the granulated sugar, beating on medium-low speed until just combined and smooth. Avoid overmixing once the sugar is in.
* Add the vanilla extract and sour cream, mixing on low speed until just incorporated. Again, don't overmix.
* Now, add the eggs one at a time, mixing on very low speed *just until the yolk disappears*. Overmixing the eggs introduces too much air into the batter, which can cause the cheesecake to puff up too much and then fall, leading to cracks. Gentle mixing is key here!
4.
Bake (The No Water Bath Way!):
* Pour the smooth cheesecake filling evenly over the cooled crust in the springform pan. Gently tap the pan on the counter a few times to release any large air bubbles.
* Place the springform pan directly onto a baking sheet (this makes it easier to transfer in and out of the oven and catches any potential drips, though unlikely with this method).
* Bake for 50-65 minutes. The cheesecake is done when the edges are set and appear slightly puffed, but the very center (about 2-3 inches in diameter) still jiggles slightly when the pan is gently nudged. It should not look wet or liquid, just softly set.
5.
The Crucial Cooling Process (No Cracks Here!):
* Once baked, turn off the oven but leave the cheesecake inside with the oven door propped open slightly (a wooden spoon works well). Let it cool in the gradually cooling oven for at least 1 hour. This slow, gentle cooling is a significant factor in preventing cracks.
* After an hour, remove the cheesecake from the oven and place it on a wire rack to cool completely to room temperature, which will take another 1-2 hours.
* Once at room temperature, cover the cheesecake loosely with plastic wrap and transfer it to the refrigerator to chill for at least 4-6 hours, or ideally, overnight. This chilling time is essential for the cheesecake to fully set, firm up, and for the flavors to meld beautifully.
Mastering the Art of Cheesecake Toppings
Once your
easy cheesecake recipe masterpiece is perfectly chilled and ready, the fun truly begins with toppings! This classic vanilla base is incredibly versatile, allowing you to customize each slice to perfection.
*
Fresh Fruit: Simple yet elegant. A vibrant medley of fresh berries (strawberries, raspberries, blueberries, blackberries) is always a winner. Sliced peaches, kiwi, or mango also add beautiful color and flavor.
*
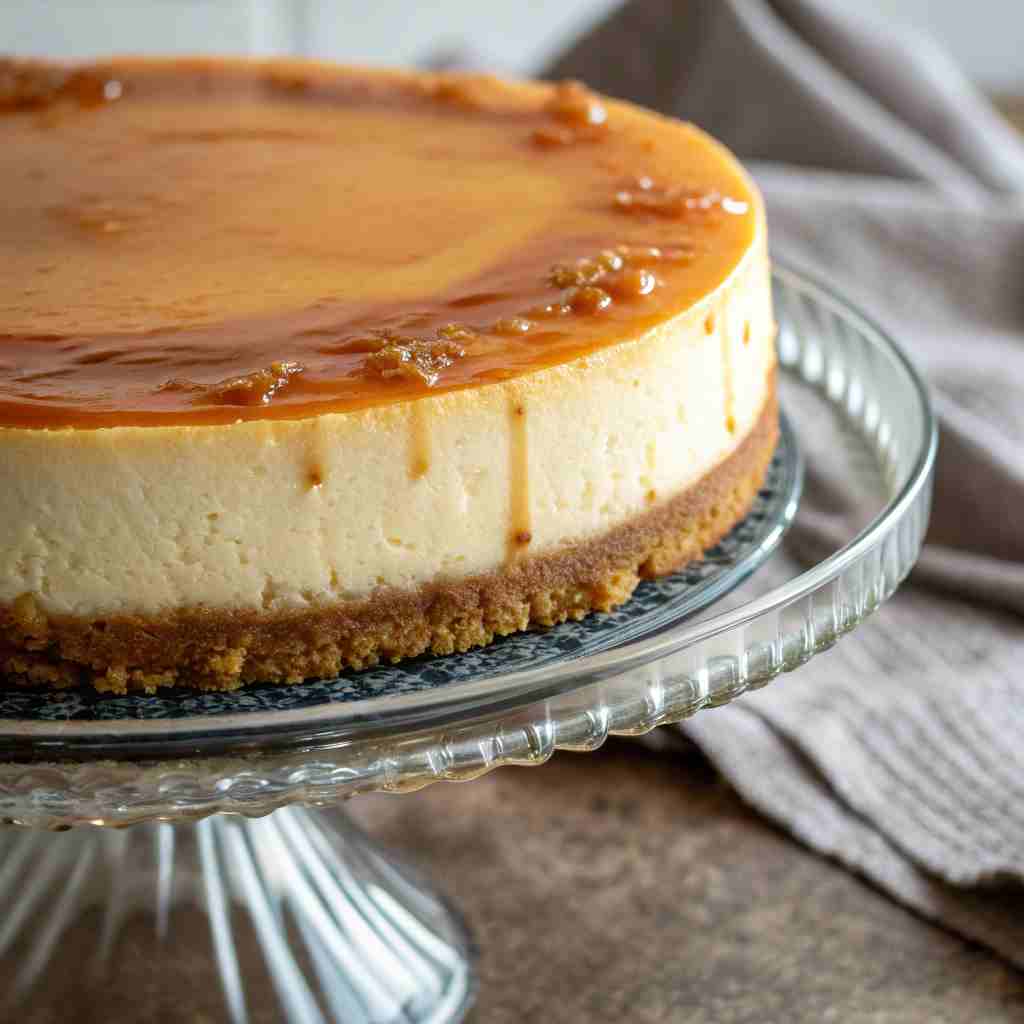
Decadent Sauces: Drizzle with warm chocolate ganache, luscious caramel sauce, or a tangy fruit compote like strawberry or cherry sauce.
*
Citrus Zing: A spoonful of bright lemon curd or orange zest can cut through the richness beautifully, adding a refreshing burst.
*
Whipped Cream: A dollop of freshly whipped cream is a light and airy accompaniment that never disappoints.
*
The Cheesecake Topping Bar: Hosting a party? Set up a "cheesecake bar" with an assortment of toppings and let everyone create their own personalized slice! For more creative topping ideas and minimal prep, check out
Simple Cheesecake Bliss: Minimal Prep for Delicious Topping Fun.
Your Cheesecake Journey Begins Now!
There you have it – a truly foolproof and
easy cheesecake recipe that empowers even the most novice baker to create a stunning, crack-free, and incredibly delicious dessert. By understanding the simple science behind each step and focusing on temperature and gentle handling, you've conquered the perceived complexities of cheesecake baking. No water bath, no fuss, just pure, unadulterated creamy bliss. So, go ahead, gather your ingredients, follow these steps, and prepare to bask in the admiration of your delighted tasters. Happy baking!